
软件源(源码)修改代码增加功能
前言
如果你想在全能签、轻松签这类签名工具上集成自己后台的App,下面我会一步步带你完成整个搭建与修改过程。
一、安装环境要求
Nginx PHP 7.2 MySQL 5.6
二、安装教程(以宝塔面板为例)
-
创建网站和数据库:建议开启SSL更安全。
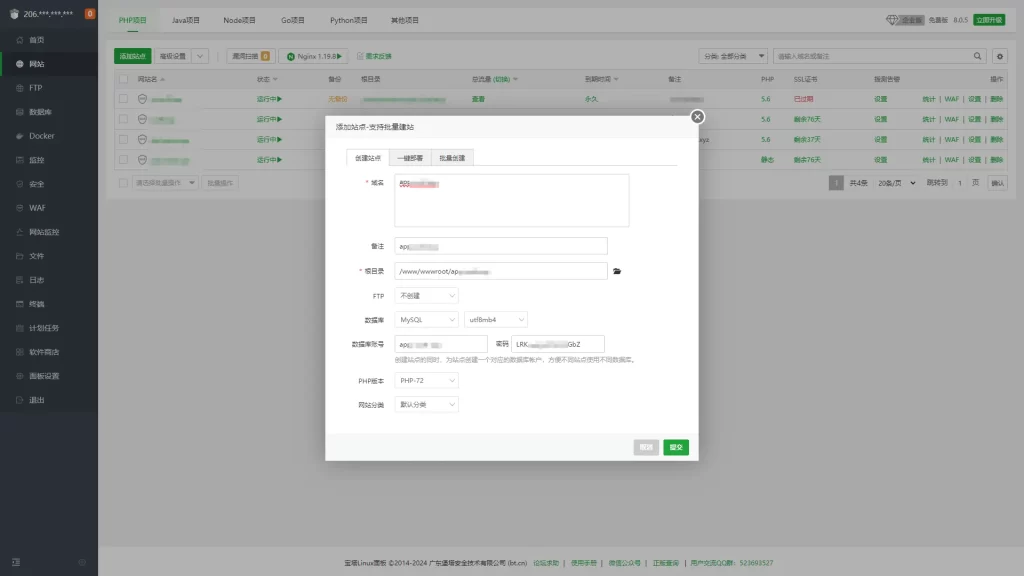
-
上传源码:将源码上传到网站根目录,并解压缩。
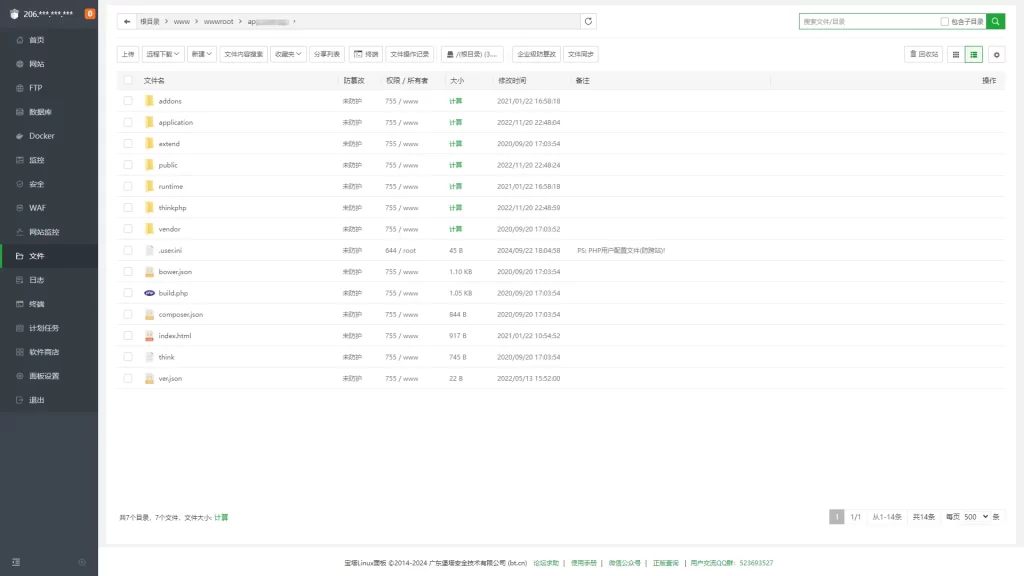
-
设置网站运行目录:进入“网站目录-运行目录”并将目录设置为 public。
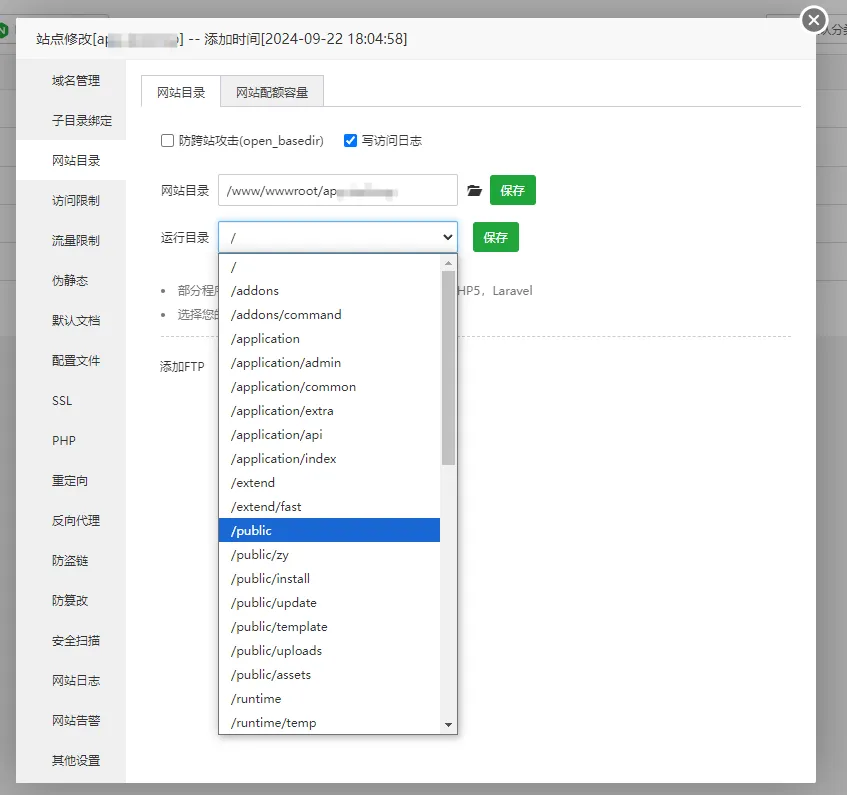
-
设置伪静态:在Nginx配置里添加以下伪静态规则:

location / {
if (!-e $request_filename){
  rewrite  ^(.*)$  /index.php?s=$1  last;  break;
  }
}
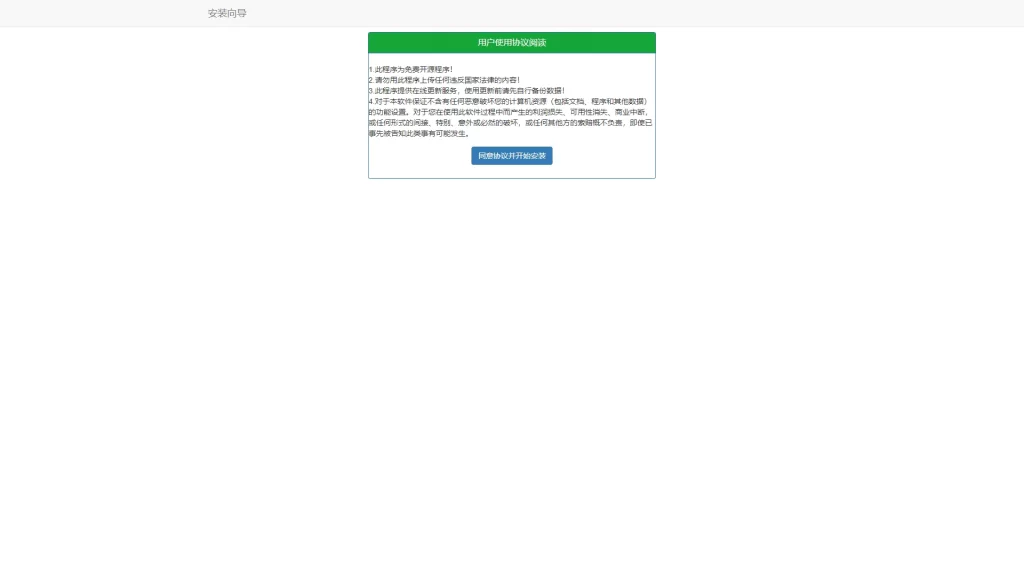
- 访问安装页面:打开浏览器,访问 http://你的域名/install/,根据页面提示完成安装。
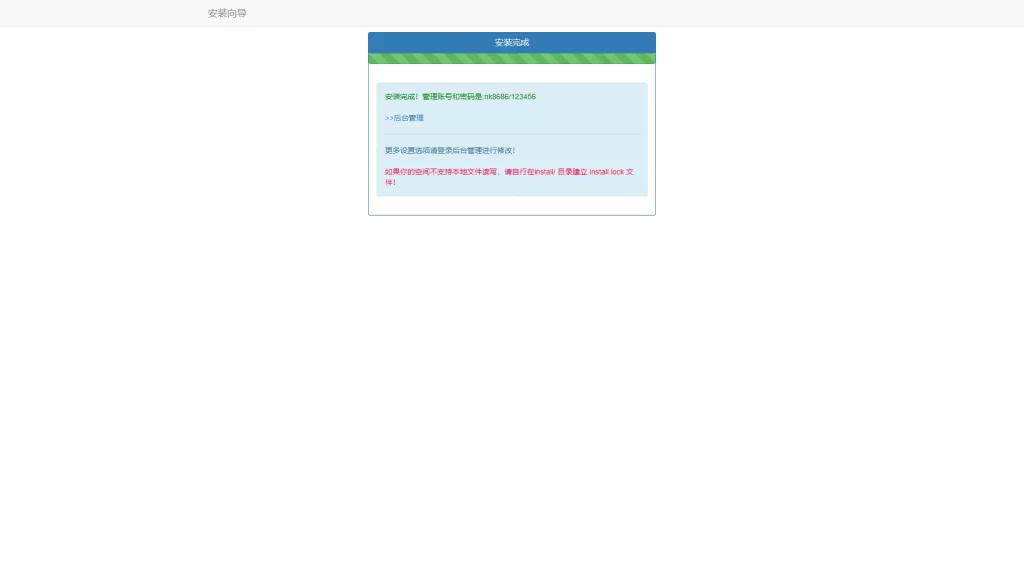
三、安装完成后的配置
安装完成后,登录后台进行以下配置: 后台地址:http://xxxx.你的域名/FRKToHDckx.php 默认账号:admin 默认密码:123456

四、常见问题解决方案
登录后台时遇到 putenv() 错误,验证码不显示怎么办?
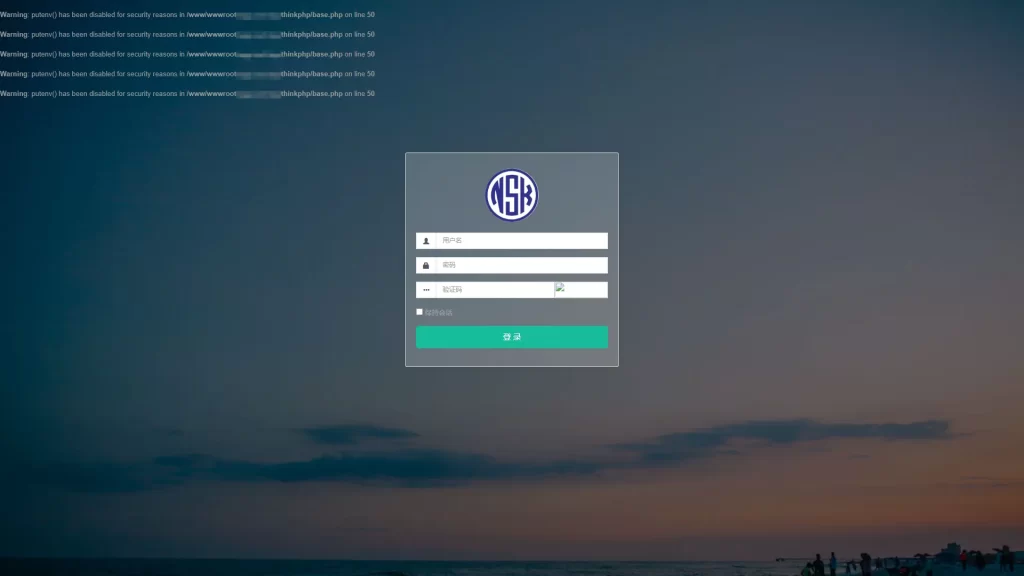
- 打开宝塔面板,找到PHP7.2的管理设置。
- 进入“禁用函数”管理,将 putenv 函数移除,确保它不被禁用。
- 回到网站后台,刷新页面,问题就解决了!
五、重要建议
-
远程更新版本:登录后台后,建议进行远程更新。进入“常规管理 – 系统设置 – 检查更新”,有新版本就直接更新。
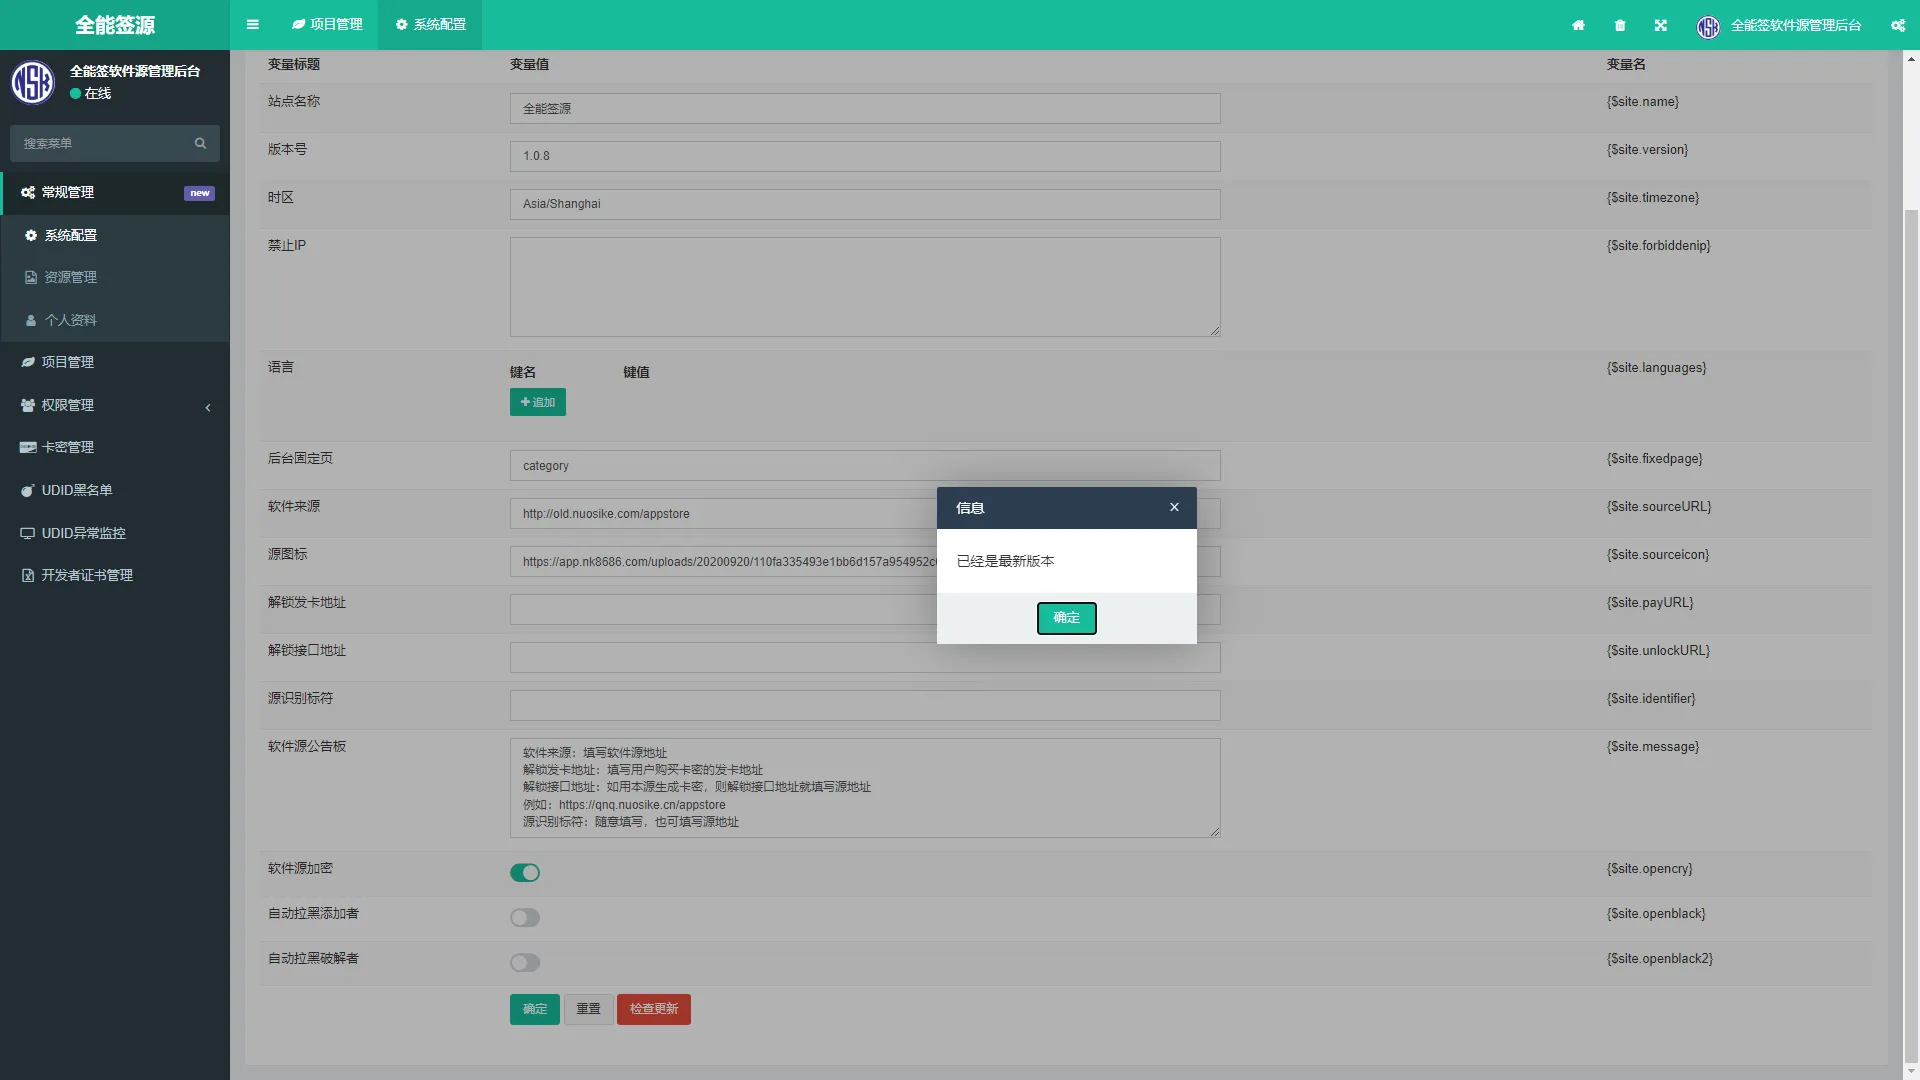
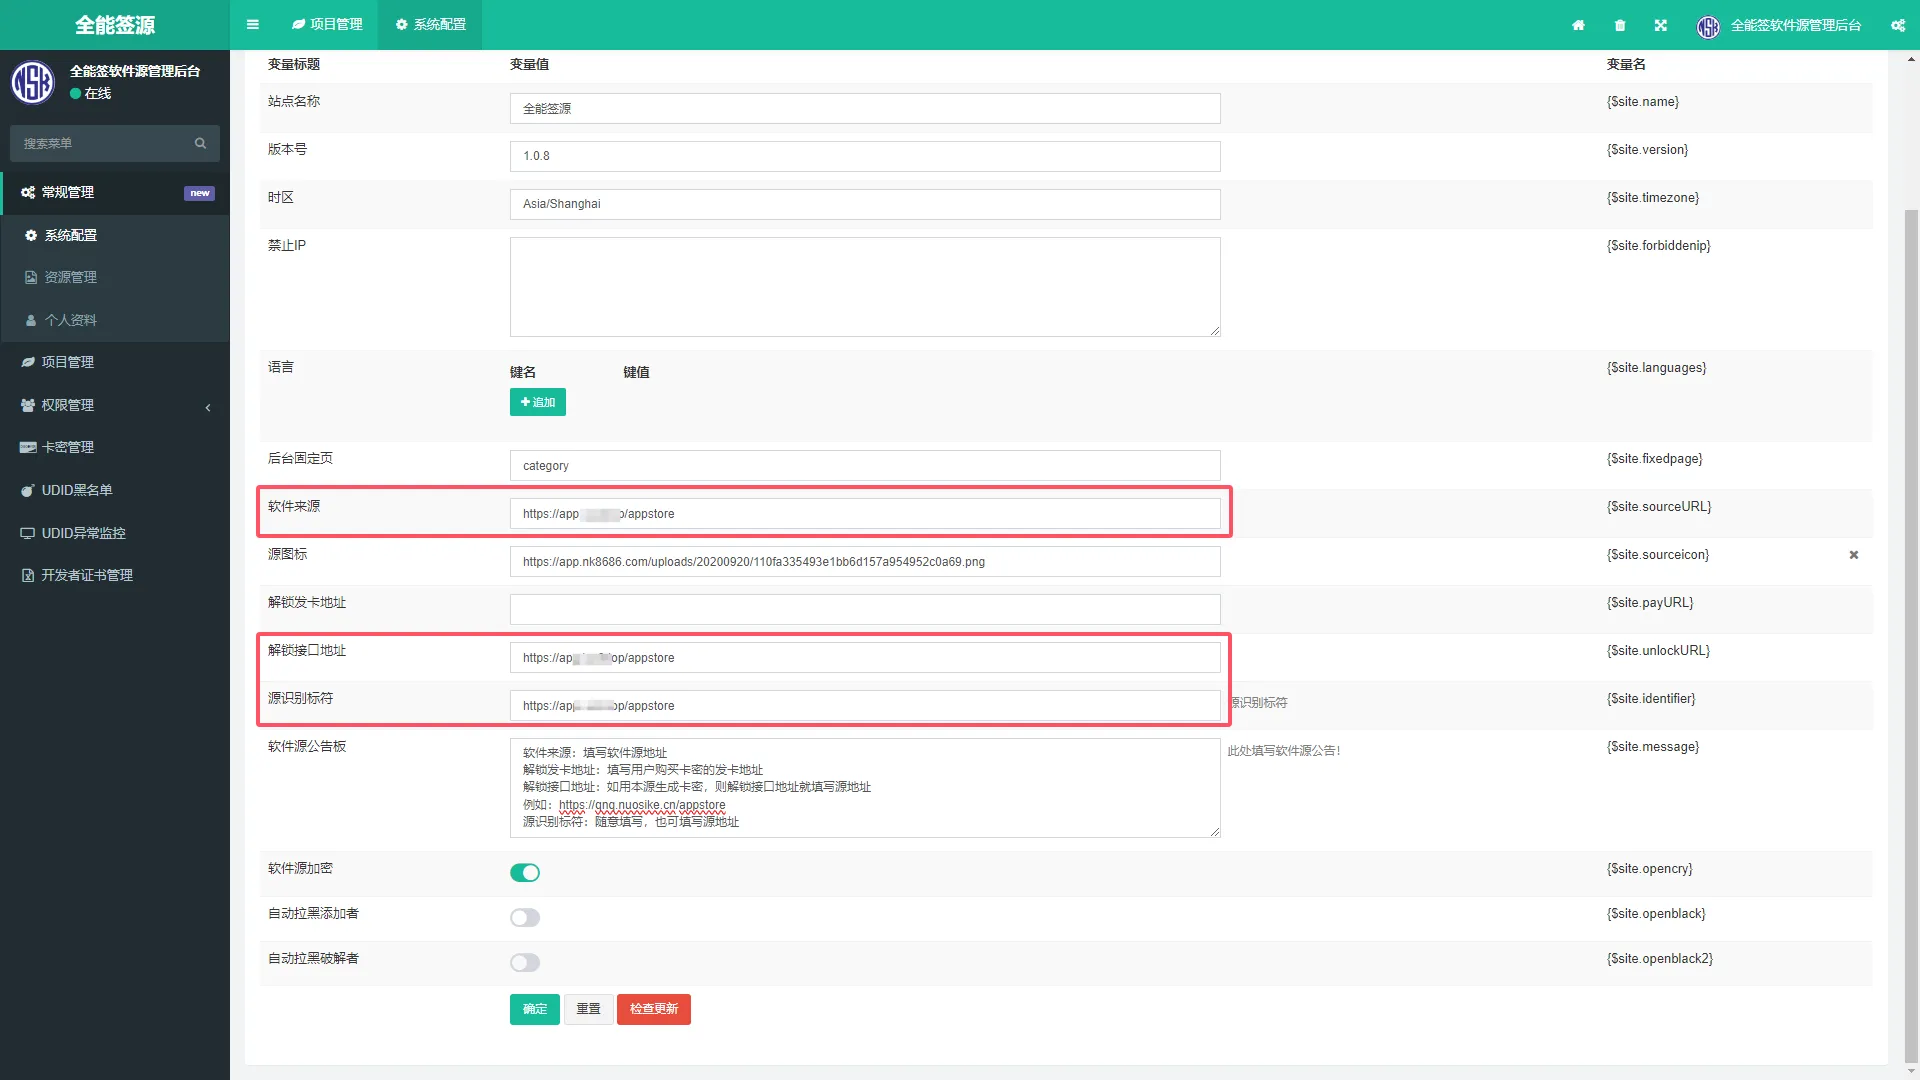
-
配置软件源和解锁接口:在后台将软件来源和解锁接口地址都设置为你的域名,例如: http://你的域名/appstore ,源识别标符不确定写什么?直接填你的源地址也可以。
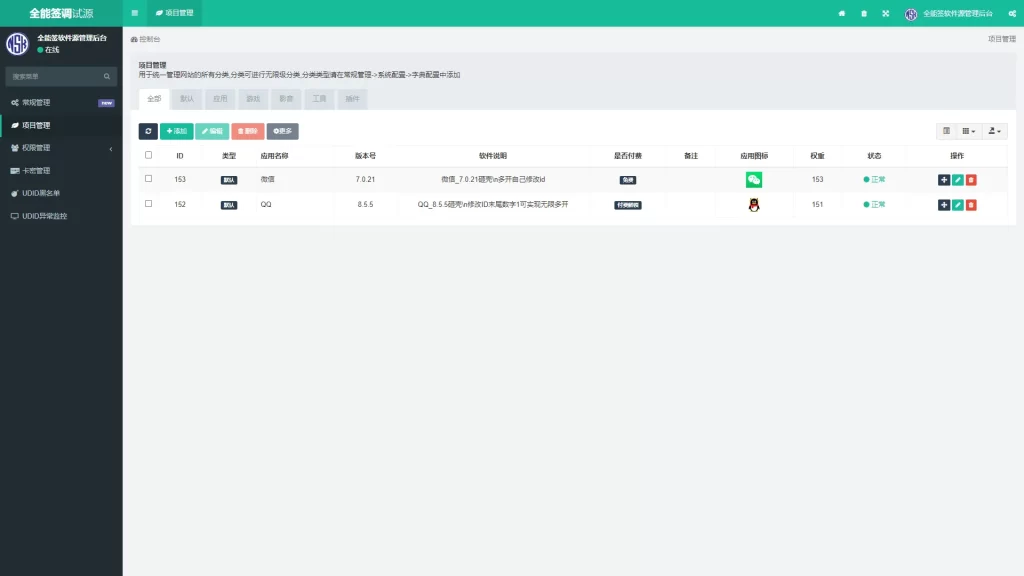
六、搭建完成,怎么用?
搭建完成后,你可以将软件源地址分享给签名工具,格式如下: http://你的域名/appstore
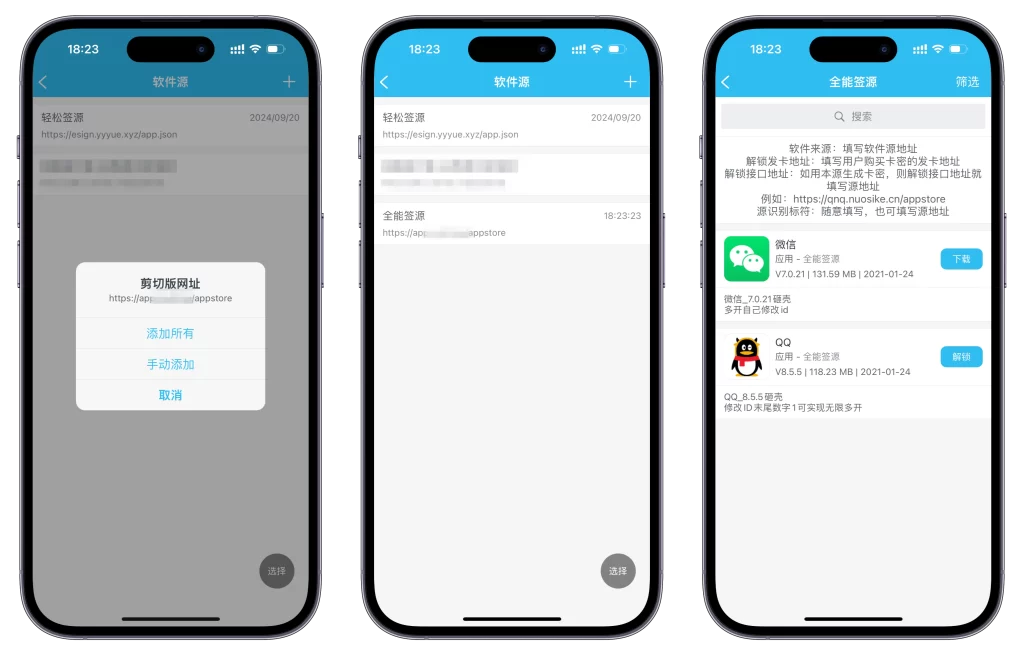
在全能签或轻松签中添加这个链接即可使用。
七、扩展功能(新手进阶)
想要增加更多功能?这里有一些可选的扩展建议:
例如:显示刷新时间、到期时间、软件总数、更新数量(当天)。 支持多个卡密类型,设置不同的到期时间。 在App中增加“软件说明”,支持单行切换多行显示。
大纲: [功能] 添加显示刷新时间、到期时间、软件总数、更新数量(当天) [功能] 增加卡密类型多个到期时间 [功能] 添加APP中【软件说明】单行切换多行
信息展示功能
添加显示刷新时间、到期时间、软件总数、更新数量(当天)
演示效果

软件源公告板参数
[刷新时间]、[到期时间]、[软件个数]、[更新数量] 分别对应即可显示!
修改代码
打开源码目录: application/index/controller
修改文件: App.php 找到代码:(大约200行左右)
if($opencry=='1'){//开启接口
  $content = json_encode($arr,320);
  $content = base64_encode($content);
  $native['content'] = $content;
  if($app_type == 'appstore_v2'){
    $res = $this->curl('https://api.nuosike.com/encrypt.php',$native);
    $return["appstore_v2"] = $res;
  }else{
    $res = $this->curl('https://api.nuosike.com/api.php',$native);
    $return["appstore"] = $res;
  }
修改为下述代码:
if($opencry=='1'){//开启接口
  $content = json_encode($arr,320);

// 新增代码开始
$content = str_replace('[刷新时间]', date('Y-m-d H:i:s'), $content);
$latime = Db::table('fa_kami')->where('udid', $udid)->order('id desc')->find();
$content = str_replace('[到期时间]', $latime['endtime'] ? date('Y-m-d H:i:s', $latime['endtime']) : '已过期 或 未解锁本源', $content);
$content = str_replace('[软件个数]', count($list), $content); // 当前软件数量

// 获取当天的开始时间和结束时间
$startTime = strtotime(date('Y-m-d 00:00:00'));
$endTime = strtotime(date('Y-m-d 23:59:59'));

// 查询数据库中当天的数据数量
$count = Db::table('fa_category')
    ->where('createtime', 'between', [$startTime, $endTime])
    ->whereOr('updatetime', 'between', [$startTime, $endTime])
    ->count();
$content = str_replace('[更新数量]', $count, $content);
// 新增代码结束


  $content = base64_encode($content);
  $native['content'] = $content;
  if($app_type == 'appstore_v2'){
    $res = $this->curl('https://api.nuosike.com/encrypt.php',$native);
    $return["appstore_v2"] = $res;
  }else{
    $res = $this->curl('https://api.nuosike.com/api.php',$native);
    $return["appstore"] = $res;
  }
请注意需要修改两处位置,大约292行左右还有需要增加上去!
新增代码
// 新增代码开始
$content = str_replace('[刷新时间]', date('Y-m-d H:i:s'), $content);
$latime = Db::table('fa_kami')->where('udid', $udid)->order('id desc')->find();
$content = str_replace('[到期时间]', $latime['endtime'] ? date('Y-m-d H:i:s', $latime['endtime']) : '已过期 或 未解锁本源', $content);
$content = str_replace('[软件个数]', count($list), $content); // 当前软件数量

// 获取当天的开始时间和结束时间
$startTime = strtotime(date('Y-m-d 00:00:00'));
$endTime = strtotime(date('Y-m-d 23:59:59'));

// 查询数据库中当天的数据数量
$count = Db::table('fa_category')
    ->where('createtime', 'between', [$startTime, $endTime])
    ->whereOr('updatetime', 'between', [$startTime, $endTime])
    ->count();
$content = str_replace('[更新数量]', $count, $content);
// 新增代码结束
两处增加代码位置:


将上述代码修改完成后保存即可
增加卡密类型
增加卡密类型多个到期时间(天卡、十年、永久等等)
演示效果

修改代码 (1)打开源码目录:application/index/controller
修改文件: App.php 快捷定位 Ctrl+F 搜索:$kmtp

我这里演示增加一个永久卡,增加一行代码如:
if($kmtp == 4){ $sydt = time(); $endtm = $sydt+(864003099999); }

(2)打开源码目录:application/admin/view/kami
修改文件: add.html 快捷定位 Ctrl+F 搜索:row[Kmyp]

找到代码:
{:build_radios(‘row[Kmyp]’, [‘1’=>’月卡’, ‘2’=>’季卡’, ‘3’=>’年卡’])}
修改增加:
{:build_radios(‘row[Kmyp]’, [‘1’=>’月卡’, ‘2’=>’季卡’, ‘3’=>’年卡’, ‘4’=>’永久卡’])}
(3)打开源码目录:application/admin/view/kami
修改文件: edit.html 快捷定位 Ctrl+F 搜索:row[Kmyp]

找到代码:
{:build_radios(‘row[kmyp]’, [‘1’=>’月卡’, ‘2’=>’季卡’, ‘3’=>’年卡’], $row[‘kmyp’])}
修改增加:
{:build_radios(‘row[kmyp]’, [‘1’=>’月卡’, ‘2’=>’季卡’, ‘3’=>’年卡’, ‘4’=>’永久卡’], $row[‘kmyp’])}
(4)打开源码目录:public/assets/js/backend kami.js 快捷定位 Ctrl+F 搜索:Kmyp

找到代码:
{field: ‘kmyp’, title: \_\_(‘Kmyp’),searchList: {1: ‘月卡’, 2: ‘季卡’, 3: ‘年卡’},formatter: Table.api.formatter.flag},
修改增加:
{field: ‘kmyp’, title: \_\_(‘Kmyp’),searchList: {1: ‘月卡’, 2: ‘季卡’, 3: ‘年卡’, 4: ‘永久卡’},formatter: Table.api.formatter.flag},
将上述代码修改完成后保存即可,请注意需要刷新强制刷新缓存
软件说明分行
添加APP时候换行无需再次输入 \n ,之前已有的正常换行
演示效果

修改代码 打开源码目录:application/admin/view/category
修改文件: add.html 找到代码:
<div class="form-group">
    <label for="c-keywords" class="control-label col-xs-12 col-sm-2">软件说明</label>
    <div class="col-xs-12 col-sm-8">
        <input id="c-keywords" class="form-control" name="row[keywords]" type="text" value="">
    </div>
</div>
将其修改:
<div class="form-group">
    <label for="c-keywords" class="control-label col-xs-12 col-sm-2">软件说明</label>
    <div class="col-xs-12 col-sm-8">
        <textarea id="c-keywords" class="form-control" name="row[keywords]" rows="5"></textarea>
    </div>
</div>
修改文件 edit.html 找到代码:
<div class="form-group">
    <label for="c-keywords" class="control-label col-xs-12 col-sm-2">软件说明</label>
    <div class="col-xs-12 col-sm-8">
        <input id="c-keywords" class="form-control" name="row[keywords]" type="text" value="{$row.keywords|htmlentities}">
    </div>
</div>
将其修改:
<div class="form-group">
    <label for="c-keywords" class="control-label col-xs-12 col-sm-2">软件说明</label>
    <div class="col-xs-12 col-sm-8">
        <textarea id="c-keywords" class="form-control" name="row[keywords]" rows="5">{$row.keywords|htmlentities}</textarea>
    </div>
</div>
将上述代码修改完成后保存即可 © 版权声明 © 2024 优享云博客. 保留所有权利。 本网站所有资源均来源于网络,仅供学习与交流使用,请勿用于商业用途。如有侵权,请联系管理员删除。